Hey there! This is part one of my four-part guide for building a simple blog app using the Django web framework.
Outline
Part 1: Initializing your Django application ⬅️ You are here!
- Set-up the development environment.
- Create the django project.
- Create the blog app.
- Define the models for the blog app.
- Create a site administrator.
- Use the Django shell to create a post.
Part 2: Creating the Django application interface
Part 3: Getting data from Django forms
Part 4: Deploying your Django app
1. Set-up the development environment.
Before anything else, let’s go ahead and set-up your development environment where you’re going to install several things. If you’re using a MacOS, just follow everything below. If not, there are instructions in the Django website for your OS.
- Install the latest version of
python. I use Homebrew for this installation.brew install python3 # also installs pip3 - Install
virtualenvwithpip3.sudo pip3 install virtualenv - Make a new directory for your project and navigate to that project.
mkdir mysite && cd mysite - Create and activate a
virtualenvfor our project. We will do everything while we are in the virtual environment. It’s like a sandbox that prevents us from actually breaking anything on our computer.python3 -m venv djangoenv # djangoenv is our chosen venv name source djangoenv/bin/activate - Create
requirements.txtand put the latest Django version.echo Django==3.0.7 > requirements.txt - Install
djangobased on the created reqs file.pip3 install -r requirements.txt
2. Create the django project.
Make sure your virtual environment is activated before you proceed. You should be seeing your venv name in parentheses in the command line every time. If you already have your development environment set-up, let’s go ahead and start to Django!
- Start the django project.
django-admin startproject mysite . - The file structure of your project folder,
mysite/, should already look like this.manage.py mysite/ ├── __init__.py ├── asgi.py ├── settings.py # contains the configuration of website ├── urls.py └── wsgi.py djangoenv/ └── ... requirements.txt - You will want to edit certain configurations for your site from time to time. For now, edit the following lines in
settings.py.# ... ALLOWED_HOSTS = ['localhost'] # Add localhost as allowed host. # ... # We will use the default database settings. DATABASES = { 'default': { 'ENGINE': 'django.db.backends.sqlite3', 'NAME': os.path.join(BASE_DIR, 'db.sqlite3'), } } # ... LANGUAGE_CODE = 'en-us' # Choose preferred language. TIME_ZONE = 'UTC' # Modify to choose own timezone. # ... STATIC_URL = '/static/' # Add a path for our static files. STATIC_ROOT = os.path.join(BASE_DIR, 'static') # Add this line. - After initial configuration, you can now create the database for your project.
python manage.py migrate # creates db.sqlite3 file - Start the web server at
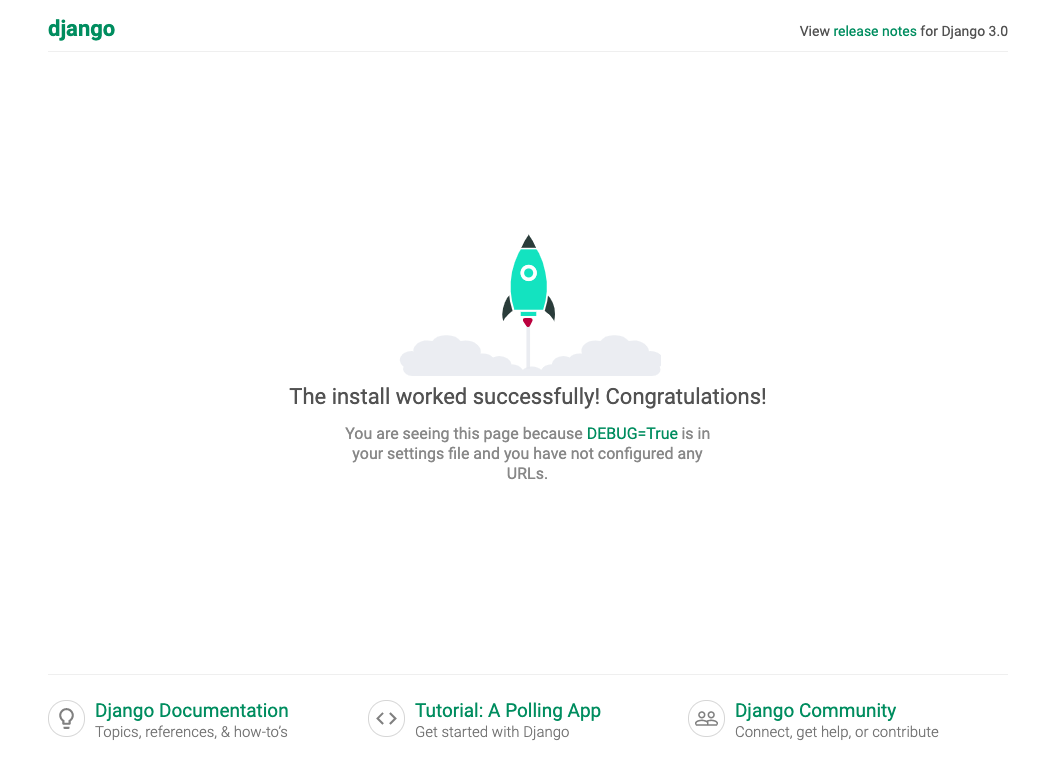
localhost:8000. PressCtrl+Cto stop it.python manage.py runserverScreenshot 1. Django default landing page.

3. Create the blog app.
You have already created your django project but it’s empty. It should have at least one application inside. Go ahead and create your first app which you will name blog, because we’re making a blog app!
- Start the blog app.
python manage.py startapp blog - Check your project directory. It should look like this now.
mysite ├── blog │ ├── admin.py │ ├── apps.py │ ├── __init__.py │ ├── migrations │ │ └── __init__.py │ ├── models.py │ ├── tests.py │ └── views.py ├── db.sqlite3 ├── manage.py ├── mysite │ ├── __init__.py │ ├── settings.py # edit to use blog app │ ├── urls.py │ └── wsgi.py ├── djangoenv │ └── ... └── requirements.txt - Edit the following list in
settings.pyto tell Django to use the new blog app.# ... # Application definition INSTALLED_APPS = [ 'django.contrib.admin', 'django.contrib.auth', 'django.contrib.contenttypes', 'django.contrib.sessions', 'django.contrib.messages', 'django.contrib.staticfiles', 'blog.apps.BlogConfig', # add this line ] # ...
4. Define the models for the blog app.
A simple blog app should contain at least one Object to be functional, and that is: the Post. What’s in a post? What can you do with your posts? We’ll answer all that in this part.
- First define your object attributes. Define what a blog post is and what its properties are. Below is a simple definition of a Post object.
Post -------- title text author created_date published_date - Next, define your object methods. What can be done to a
Post? Topublish()it is an example. Sure you can also edit, delete, and create a post, but for this guide, we’re not defining them as Object methods. We are going to treat them differently to avoid redundancy in code. We’ll deal with those in part two of this guide.Post -------- Publish - Now you are ready to define your model for the app. Go ahead and open
mysite/models.pyto do that.# mysite/models.py from django.conf import settings from django.db import models from django.utils import timezone # you need this to know the time when publishing posts # Define the Post model. class Post(models.Model): # Post attributes: author, title, text, and published_date author = models.ForeignKey(settings.AUTH_USER_MODEL, on_delete=models.CASCADE) title = models.CharField(max_length=200) text = models.TextField() created_date = models.DateTimeField(default=timezone.now) published_date = models.DateTimeField(blank=True, null=True) # Method for publishing the post. def publish(self): self.published_date = timezone.now() self.save() # Using the Post title to identify our posts. def __str__(self): return self.title - We’re keeping the model simple for now. Make a new migration to tell django that you made some changes to the initial model. Then go ahead and migrate these changes to create new tables for your model.
python manage.py makemigrations blog
python manage.py migrate
5. Create a site administrator.
All sites need at least one administrator to be allowed to manage its database. Now, as the project creator, you can already do that with the Django shell which will be discussed further in the next section. But as you will discover, there is a more convenient and quicker way to do these things, and that is through a superuser account.
- Admin privileges are defined in
blog/admin.py. You need to edit it to allow admins to manage tables for certain models. Edit this file and add the following line to register yourPostmodel.from django.contrib import admin from .models import Post # Import Post model. admin.site.register(Post) # Register Post model. - Let’s now create a superuser to add, edit, and delete posts. Running the following command will ask you for your credentials. Make sure you remember what you give.
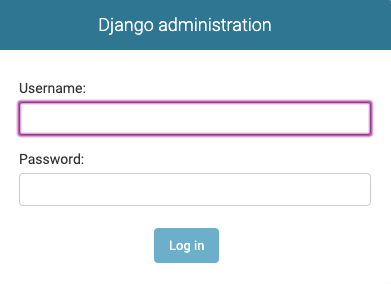
python manage.py createsuperuser - After creating your account, you can now log-in using your credentials in
localhost:8000/admin.Screenshot 2. Django Administrator Log-in Box

- You can add, edit, and delete Posts through the interface, but let’s leave that for later.
Screenshot 3. Django Admin Functionality

6. Use the Django shell to create a post.
As previously mentioned, as site creator, you can manage your database through the Django shell. Let’s discuss a number of things you can do with it.
- Open the Django shell in your console.
python manage.py shell - Once you have gotten it running, import the
Postmodel andUsermodel to be able access them and their corresponding tables.>>> from blog.models import Post >>> from django.contrib.auth.models import User - Try these commands line by line and make your first
Post.>>> Post.objects.all() # to list all Posts >>> User.objects.all() # to list all Users >>> admin = User.objects.get(username=[your_superusername]) # retrieve the superuser you created earlier >>> Post.objects.create(author=admin, title='Sample title', text='Test') # create blog post with admin as author >>> Post.objects.filter(author=admin) # filter all posts authored by admin >>> Post.objects.filter(title__contains='title') # filter all posts containing 'title' >>> post = Post.objects.get(title="Sample title") # get Post with title "Sample title" >>> post.text = "Sample text" # change post text >>> post.save(); # save changes >>> Post.objects.filter(published_date__lte=timezone.now()) # get all published Posts >>> Post.objects.order_by('created_date') # order Posts by publish date >>> Post.objects.order_by('created_date') # reverse order - Once you’ve gotten the hang of it, you can go ahead and exit the shell.
>>> exit()
Give me a high five! ✋
Hey, you’ve reached the end of part one! By now you should be able to run the server as administrator and manage the database through the interface. On the next part, we will start to make the interface of our blog app. Take a small break, or click here to go on ahead.